


DIY Guide: Wax Cord Necklace & Pendant Knot
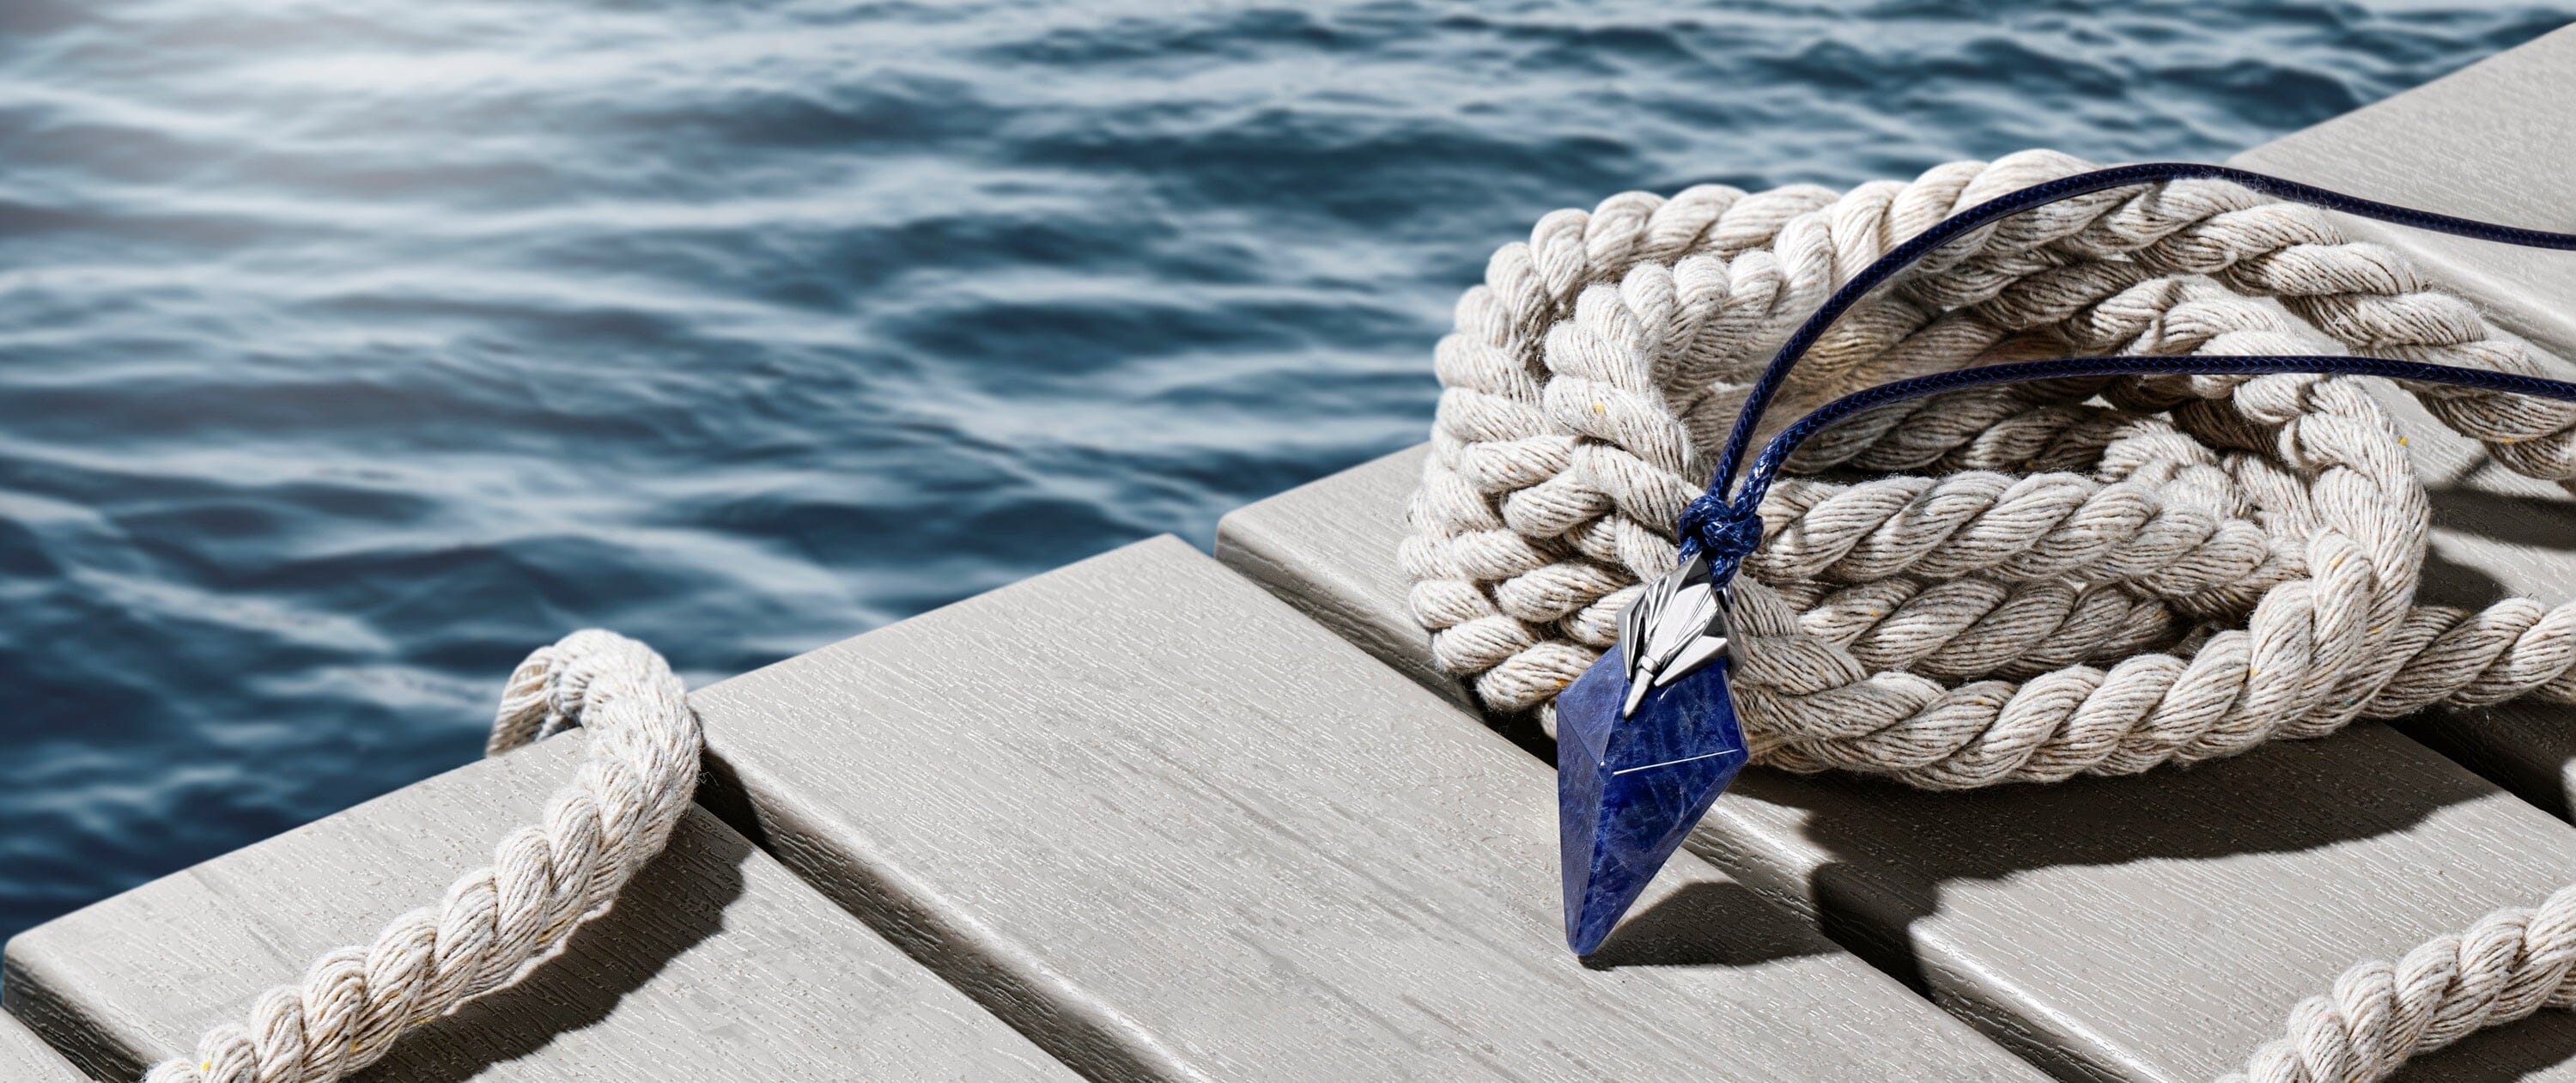
Creating a personalized pendant necklace is a rewarding and creative way to express your style. One popular method for crafting a unique and eye-catching piece is by using wax cord, a versatile material that can be easily manipulated to suit various designs. Whether you're looking to create a simple, minimalistic necklace or something more intricate, attaching a pendant to a wax cord is both easy and customizable.
In this guide, we'll walk you through several simple and decorative ways to secure your pendant to a wax cord, ensuring that your necklace not only looks great but stays durable for everyday wear. From basic knots to more elaborate designs, these techniques will help you make your very own pendant necklace with a professional touch.
You can watch the step-by-step video tutorial below to see the process in action↓
Step-by-Step Tutorial:
Materials and Tools: Wax Cord, Pendant, Lighter, Scissors

1.How to Tie the Pendant-End Knot
Step 1: Thread the wax cord through the hole in your pendant, and make sure both ends are equal in length.

Step 2: Use your thumb to press down on the bail (loop) to hold the cord in place. Wrap the lower cord over the other one and bring it to the left side.

Step 3: Now take the right-side cord, loop it under, pinch it between your fingers, tidy the loop, and pull it through.

Step 4: Pull both cords evenly to tighten the knot.

2.How to Tie the Adjustable Sliding Knot at the End
Step 1: Cross the right cord under the left cord, and pinch the overlapping point with your fingers.

Step 2: Take the end of the right cord, loop it from underneath, and thread it through the loop you just created.


Step 3: Keeping the left cord still, pull both right-side cords to form the first knot.

Step 4: Now flip the knot around. Hold the first knot in your left hand and grab the shorter cord with your right hand. Repeat the same steps.


Step 5: After adjusting both knots, trim any excess cord to prevent them from loosening over time.
Lightly burn the trimmed ends with a lighter, and press them down with the side of the lighter to seal and keep them from fraying.


